


Last Updated : 18 Feb, 2021

OpenCV is the massive open-source library for computer vision, machine learning, and picture processing and now it performs a serious position in real-time operation which is essential in immediately’s programs. By utilizing it, one can course of photos and movies to determine objects, faces, and even the handwriting of a human. When it built-in with varied libraries, comparable to Numpy, python is able to processing the OpenCV array construction for evaluation. To Identify picture patterns and their varied options we use vector house and carry out mathematical operations on these options.
OpenCV is a library used for real-time picture processing by way of a digital camera. It is used to do varied picture processing operations like picture capturing, making use of real-time filters like Snapchat and Instagram, cropping of photos and lots of extra.
Applications of OpenCV
There are a lot of functions which are solved utilizing OpenCV, a few of them are listed beneath
- face recognition
- Automated inspection and surveillance
- variety of folks – depend (foot visitors in a mall, and so on)
- Vehicle relying on highways together with their speeds
- Interactive artwork installations
- Anomaly (defect) detection within the manufacturing course of (the odd faulty merchandise)
- Street view picture stitching
- Video/picture search and retrieval
OpenCV Functionalities
- Image/video I/O, processing, show (core, imgproc, highgui)
- Object/function detection (objdetect, features2d, nonfree)
- Geometry-based monocular or stereo laptop imaginative and prescient (calib3d, stitching, videostab)
- Computational images (photograph, video, superres)
- Machine studying & clustering (ml, flann)
- CUDA acceleration (GPU)
Steps Required to Add OpenCV library into Android Application
Here are the steps required to carry out in the identical means so as to add OpenCV library:
- First of all, go to the official web site of OpenCV i.e https://opencv.org/releases/ right here you will note varied releases with the model identify point out above it. You have to obtain the identical model of OpenCV as your android studio model.
- Here obtain the android bundle you will note the android bundle possibility there as proven within the picture beneath:
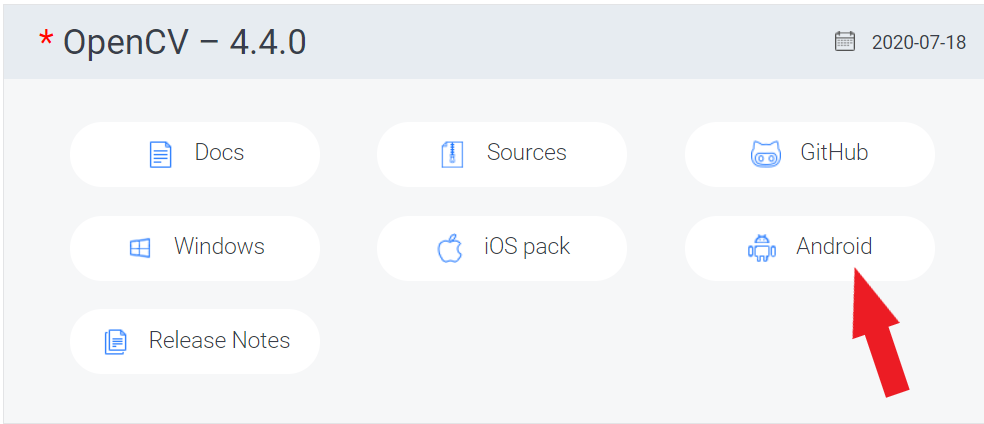
- Just click on on the android possibility there and you’ll be redirected to the web page the place the obtain will begin mechanically.
- After downloading the android bundle with the model identical as along with your android studio you must extract the zip folder to your required location.
- Now open Android Studio and create a new project.
- After creating a brand new challenge go to File > New > Import-Module
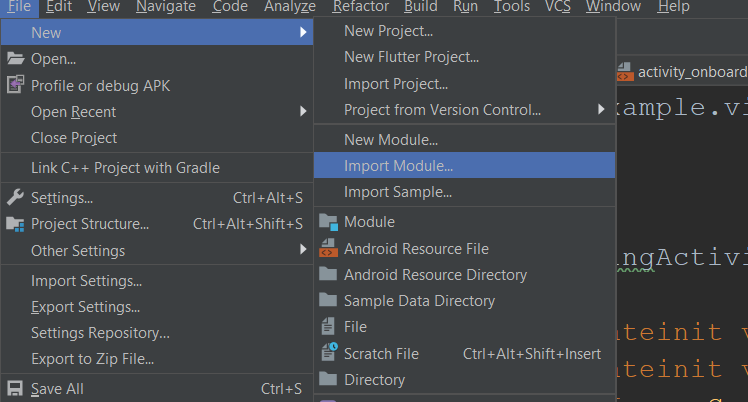
- Now click on on Import-Module as you will note a dialog field like beneath:
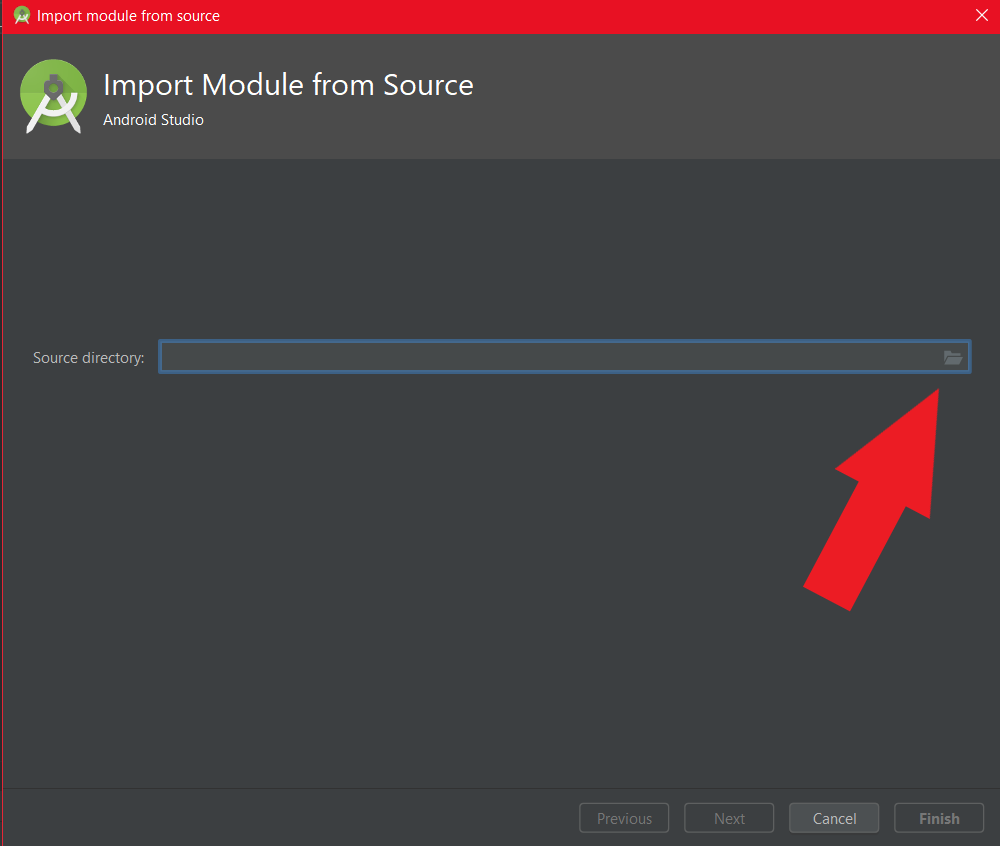
- Now, import the module of OpenCV. So open the situation the place you extracted the OpenCV library so go to that location. In this case obtain location was This PC > downloads.
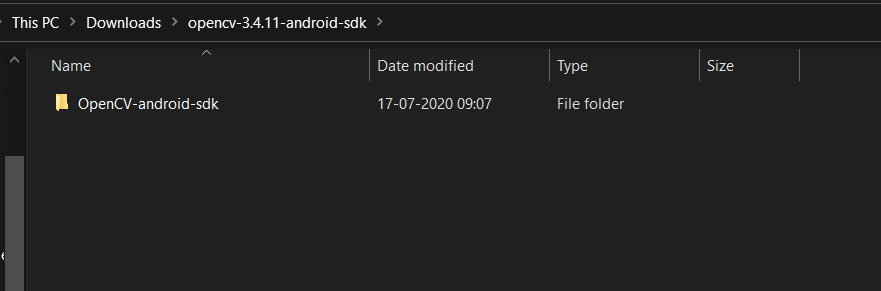
- Then go to SDK

- Then click on on java
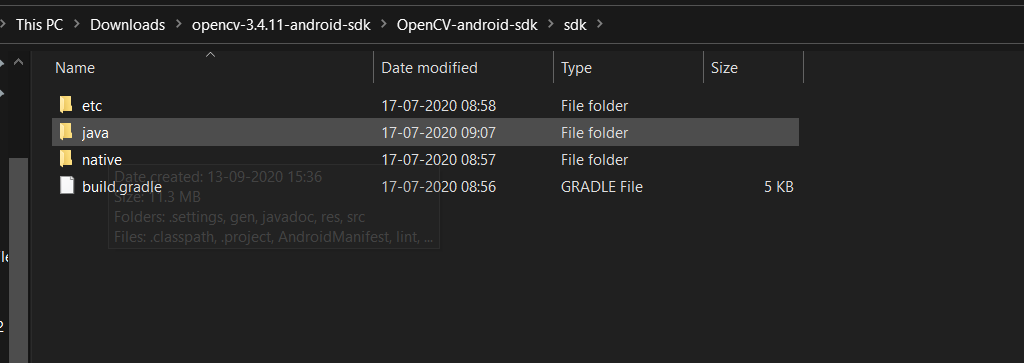
- Go to the situation > OpenCV > SDK >java and finished, the android studio will mechanically fetch the module from there.
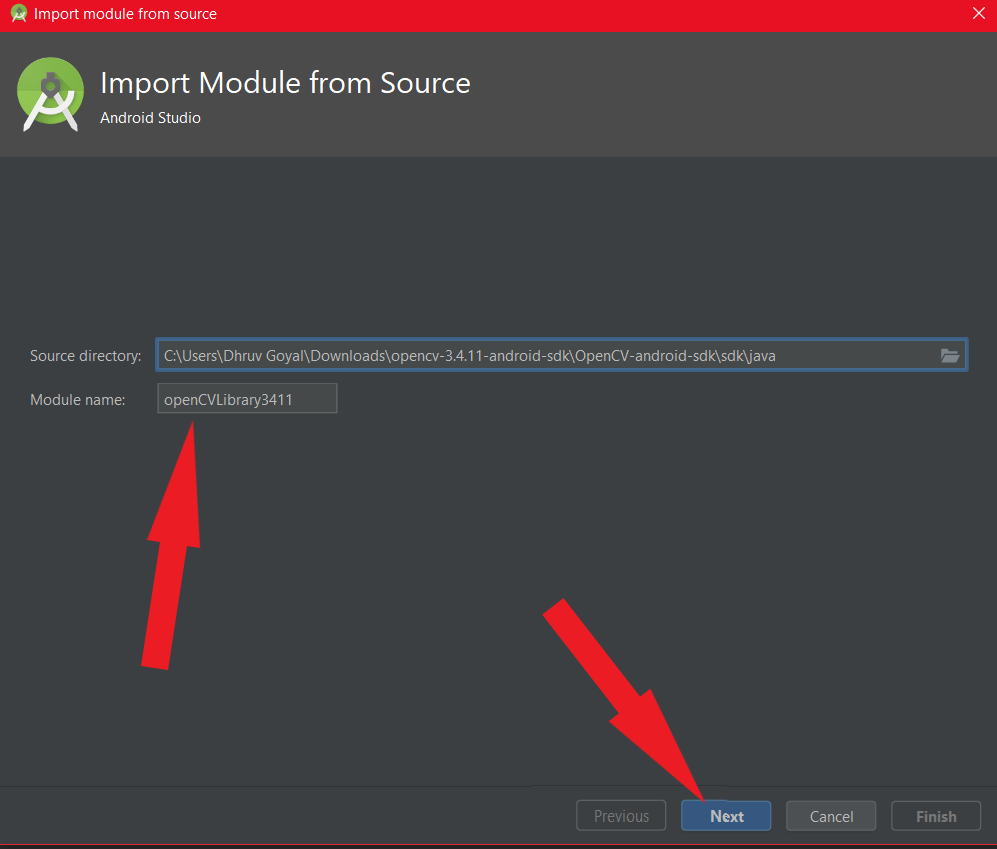
- Click on Next > end. Now you must modify the challenge construction additionally.
- So go to File > Project Structure > Dependencies in All Dependencies folder click on on the + icon then add the module dependency.
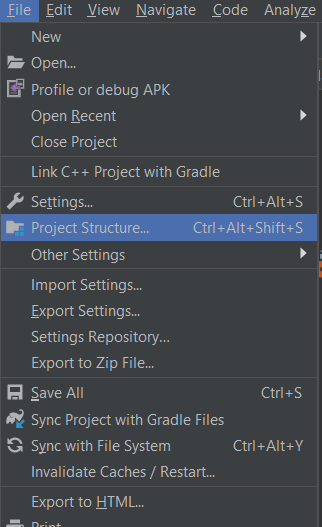
- Click on the app after which choose the OpenCV dependency after which subsequent then OK.
- Now, some information are wanted for the android challenge.
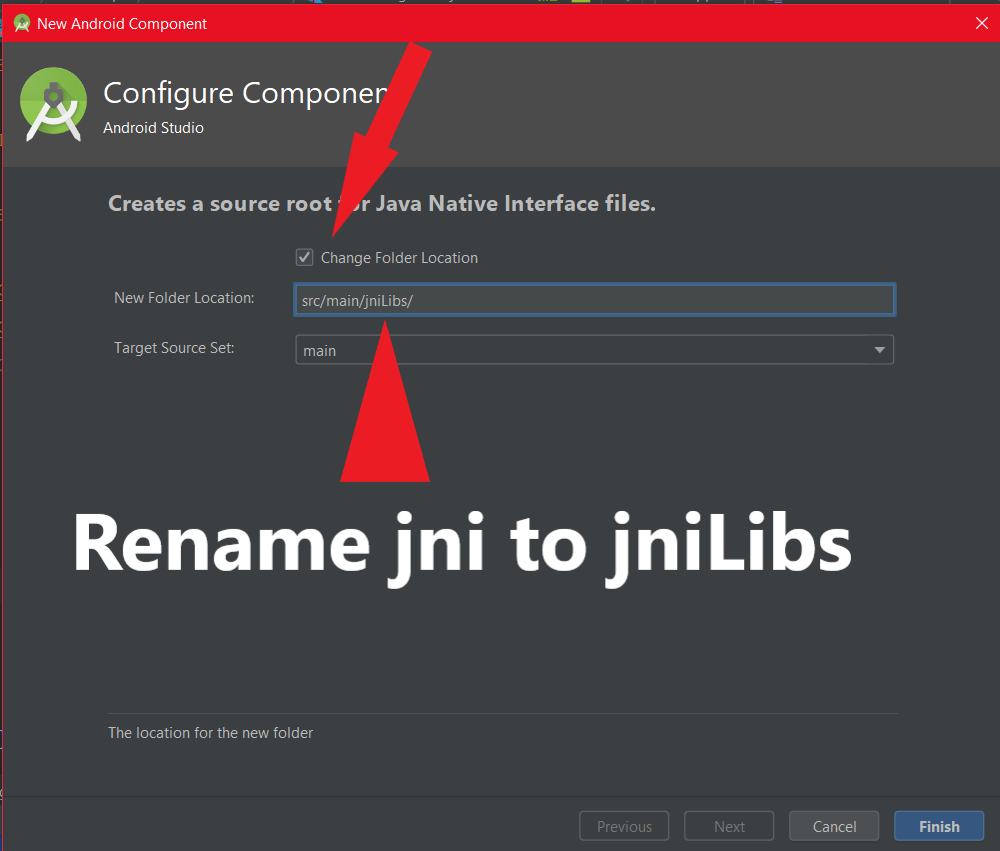
- So go to app > New > folder > JNI folder
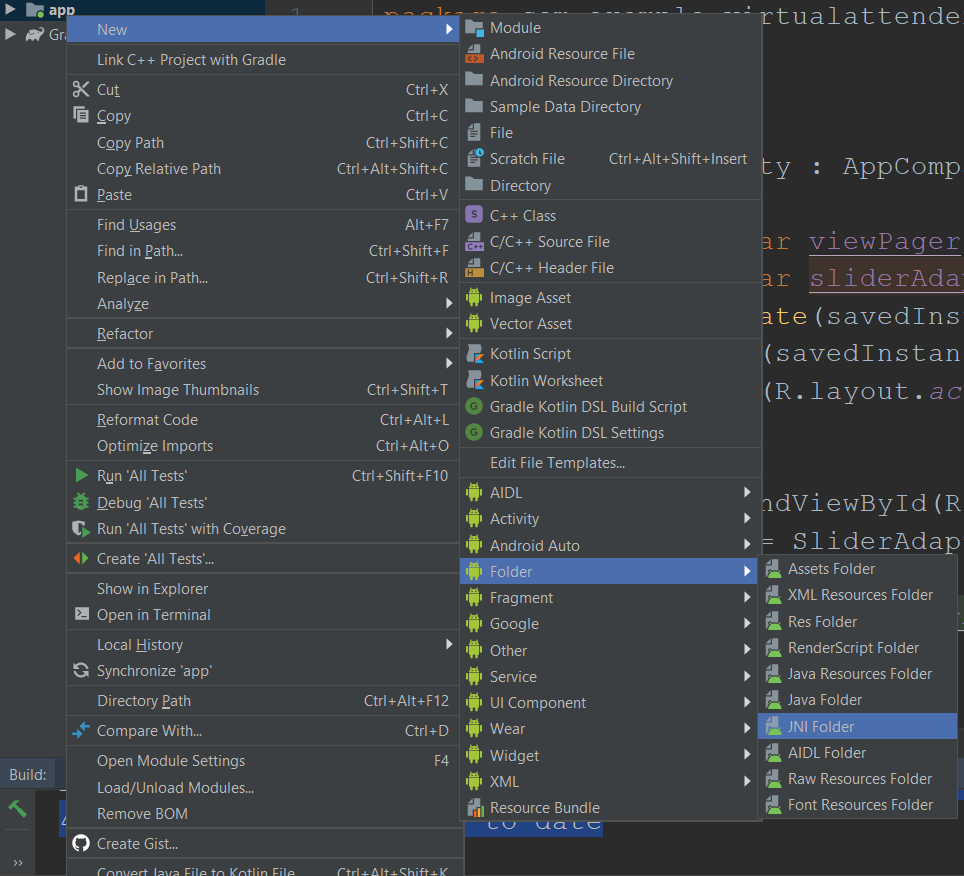
- Then test the Change Folder Location then rename src/principal/JNI to src/principal/jniLibs then end.
- Then go to the android studio and the paste all of the copied folder into the newly created JNI folder. And all finished!
Now OpenCV is added into the android challenge. If one desires to test that whether or not it’s added efficiently he/she will be able to do that by writing the beneath code into the MainActivity.
static{
if(OpenCVLoader.initDebug()){
Log.d(“Check”,”OpenCv configured efficiently”);
} else{
Log.d(“Check”,”OpenCv doesn’t configured efficiently”);
}
}
Improve